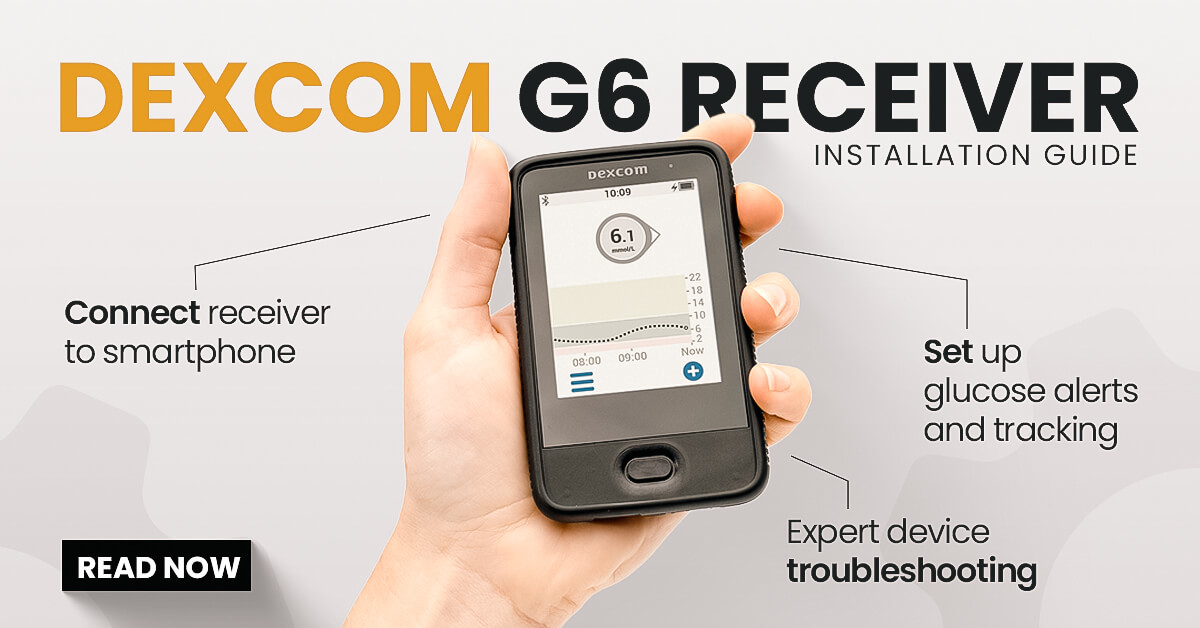
Introduction
The Dexcom G6 Receiver is a device that allows users to easily monitor and track their glucose levels. It is the latest device in the Dexcom range and has been designed for easy use and setup. This guide will provide step-by-step instructions on how to set up and use the Dexcom G6 Receiver. It will cover everything from connecting the receiver to your smartphone to setting up alerts and tracking your glucose levels. By following this guide, you will be able to easily monitor your glucose levels and ensure your health is in tip-top shape.
How to Prepare Setup of the Dexcom G6 Receiver?
- Before setting up and using your Dexcom G6 Receiver, make sure that you have the device, the charger, and the transmitter.
- Connect the charger to the Receiver and plug it into an electrical outlet.
- Press and hold the power button for approximately three seconds to turn it on.
- Once the Receiver is on, you can attach the transmitter and insert it into the Receiver.
- (After the transmitter has been inserted and the connection has been made, you can start tracking your glucose levels.)
- To track glucose levels, press the up and down buttons on the side of the device until the glucose levels are displayed.
- If you like to change the settings, such as the alarm sounds, you can do so by pressing the “settings” button and adjusting the options to your preference.
- To ensure that your device is properly and safely tracking your glucose levels, you should periodically check the Receiver for any signs of damage or malfunction
Connecting the Receiver to the Charger: Dexcom G6 Receiver
First, connect the charger to a power source. Plug one end of the charger into the wall outlet, and the other end into the Dexcom G6 Receiver. Be sure the receiver is powered off before connecting it to the charger. Once you have connected the charger to the receiver, the charging indicator light will turn on, indicating the receiver is charging. Next, place the receiver on the charger. Make sure the charging contacts on the back of the receiver line up with the charging contacts on the charger. The Dexcom logo will flash when the receiver is correctly positioned on the charger.
Finally, press the power button to turn on the receiver. The receiver will begin to charge and the charging indicator light on the charger will remain lit. When the receiver is fully charged, the charging indicator light turns off and the Dexcom logo disappears. Your Dexcom G6 Receiver is now connected to the charger and ready for use.
Easy to Setting Up the Receiver: Dexcom G6 Receiver
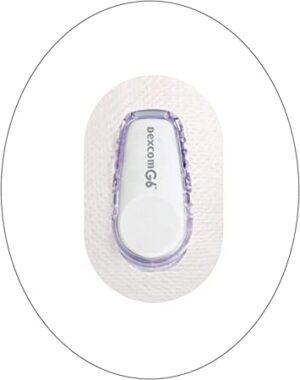
The Dexcom G6 Receiver is a small, lightweight, handheld device that receives glucose data from the Dexcom G6 Continuous Glucose Monitoring (CGM) System. Setting up the receiver is easy and straightforward.
First, make sure your Dexcom G6 System is functioning properly. Place the transmitter on the sensor and make sure it is firmly attached. Then, turn on the receiver and press the power button.
Next, select your language and confirm your country of residence. Once you’ve completed this step, you can start pairing the receiver with the Dexcom G6 transmitter by pressing the “Pair” button on the receiver. Select the “Start” option on the receiver and then press the “Pair” button on the transmitter.
Once the pairing is complete, the receiver will display an “OK” message. You can now view your glucose data on the receiver’s display. You can also customize settings like alarm thresholds, display options, and sound preferences.
The Dexcom G6 Receiver is an easy-to-set-up device that allows users to monitor their glucose levels and make timely adjustments. With its user-friendly design, this device makes it easy to stay on top of your diabetes management.
How to Use the Dexcom G6 Receiver?
- Download the Dexcom G6 app from App Store or Google Play and create a Dexcom account.
- Connect the receiver to the charger and plug the charger into a power source.
- Turn on the receiver and open the Dexcom G6 app.
- Select “Add a New Device” and choose “G6 Receiver” when prompted.
- Select the receiver’s language, then search for and select the receiver’s name.
- When prompted, enter your Dexcom account password.
- When prompted, select the “Allow” option to grant the app permission to access your device’s Bluetooth.
- Place the receiver near the Dexcom G6 transmitter and wait for the receiver to connect.
- On the receiver, press and hold the power button until the light turns blue.
- When prompted, press the power button to confirm the connection.
- The app will now display your glucose readings.
- To view your glucose readings on the receiver, press and hold the power button until the light turns green.
Troubleshooting and Care Dexcom G6 Receiver
The Dexcom G6 Receiver is a device used to monitor glucose levels for people with diabetes. It is a small, portable device that displays readings from the Dexcom G6 Transmitter. Troubleshooting and care for the Dexcom G6 Receiver require regular maintenance and troubleshooting steps.
First and foremost, ensure that the Dexcom G6 Receiver is regularly charged and that the battery has enough charge to last throughout the day. To do this, plug the device into a wall outlet or computer using the included USB cord.
Next, keep the device clean and free of dust or debris. Wipe the device down with a damp cloth and make sure that no liquid gets inside the device. It is important to regularly check the device for loose or damaged parts, such as the antenna. If any of these parts are found to be loose or damaged, they should be replaced immediately.
Finally, make sure that the Dexcom G6 Receiver is properly connected to the Dexcom G6 Transmitter. If the connection between the two devices is not working, it is important to troubleshoot the connection. By following these steps, users can ensure that their Dexcom G6 Receiver is functioning properly and is taking accurate readings. Regular maintenance and troubleshooting of the device are essential for proper functioning and care.